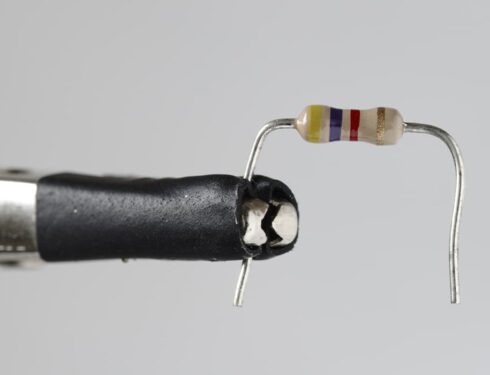
Arduino Experimenter's Guide for NodeJS
ABOUT THIS GUIDE
NodeBots are Arduino-based robots that are controlled by node.js.
This guide will step you through assembling and progamming a number of projects using an Arduino-compatible microcontroller and node.js, to help you get started building your own NodeBots. This guide has been designed to be used with the Arduino Experimenter's Kit, which is available from several suppliers, including SparkFun, AdaFruit, SEEED Studio and Freetronics.
The overall goal of the this guide is fun. Beyond this, the aim is to get you comfortable using node.js to control a wide range of electronic components through small, simple and easy circuits. The focus is to get each circuit working then to give you the tools to figure out how it works and how to extend it.
Installing
You can install this guide to your own computer. Make sure you have node.js and the node package manager (npm) installed first.
Install this guide with the following commands:
git clone https://github.com/AnnaGerber/node-ardx.git && cd node-ardx
npm install
Run the node-ardx web application from the node-ardx directory:
node app.js
Visit http://localhost:3000 in your web browser to view the guide.
ABOUT OPEN SOURCE HARDWARE
This guide has been adapted by Anna Gerber and other members of the NodeBots community from the SparkFun version of .:oomlout:.'s ARDX (Arduino Experimenter's) Guide.
All of .:oomlout:.'s projects are open source. What does this mean? It means that all of the materials that make up the ARDX kit, including this guide, circuit diagrams and code are available for free download. But it goes further: you're also free to reproduce and modify any of this material, then distribute it for yourself. This is possible because this guide is released under a Creative Commons (CC-BY-SA) license. If you reproduce or modify this guide you must credit SparkFun and .:oomlout:. in your design and share your developments in a similar manner. Why? We grew up learning and playing with open source software and the experience was good fun. We think it would be lovely if a similar experience was possible with physical things.
More details on the Creative Commons CC (By Share Alike) License can be found at http://ardx.org/CCLI.
ABOUT JOHNNY-FIVE
We will be working with the Johnny-Five library for node.js to program our nodebots. Johnny-Five uses a protocol called Firmata to communicate with the microcontroller over USB (Universal Serial Bus).
Setting Up Firmata
Before you can start programming your NodeBots, you will need to load Firmata onto your Arduino-compatible microcontroller:
- Download Arduino IDE
- Connect your Arduino-compatible microcontroller via USB
- Launch Arduino IDE and open the Firmata sketch via the menu:
File > Examples > Firmata > StandardFirmata
- Select your Arduino board type (e.g. Arduino Uno) via
Tools > Board
- Select the port for your board via
Tools > Serial Port > (the comm port of your Arduino)
- Upload the program by selecting
File > Upload
If you are having trouble uploading, a full trouble shooting guide can be found here: http://ardx.org/TRBL
Running a Johnny-Five program
The Johnny-Five module has already been installed when you installed this guide, so any code examples you create within the node-ardx directory will run. If you are creating code in a different location, you will need to install the Johnny-Five module, e.g:
npm install johnny-five
Run code examples from the terminal e.g.
node code/CIRC01-code-led-a-strobe.js
Using the REPL
Johnny-Five provides a Read-Eval-Print-Loop (REPL) that allows you type commands to control hardware interactively while your program is running. See the exercises for examples.
License
The source code is available from https://github.com/AnnaGerber/node-ardx
Code examples are issued under an MIT license
This work is licensed under the Creative Commons Attribution-Share Alike 3.0 Unported License
To view a copy of this license visit http://creativecommons.org/licenses/by-sa/3.0/
Or send a letter to: Creative Commons